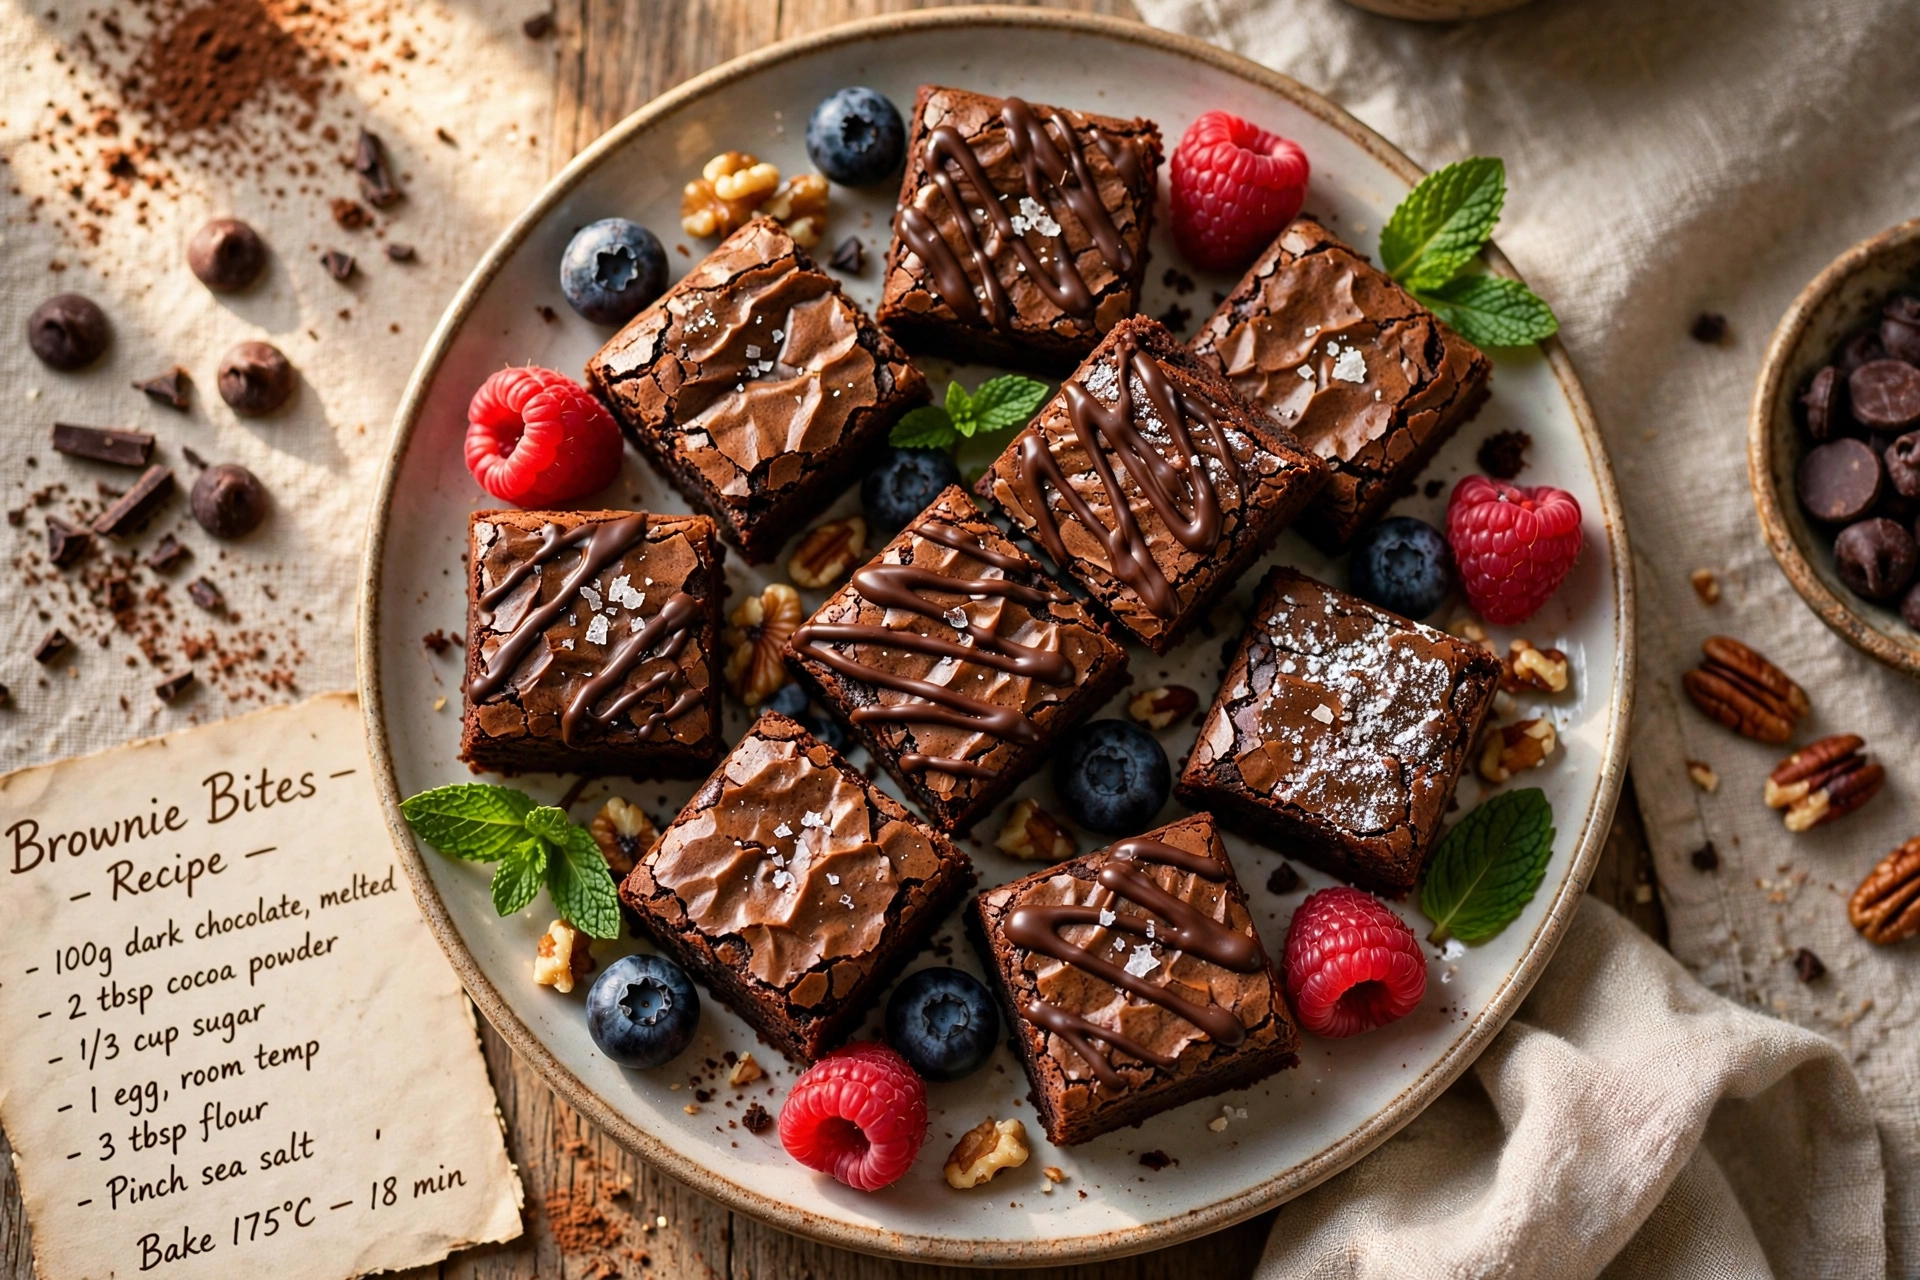
Homemade Brownie Bites (Chewy Two-Bite Brownies)
These homemade brownie bites are fudgy, chewy, and perfectly portioned for snacking. Learn how to make two-bite brownies with a shiny crackly top in under 30 minutes.
Little Bites of Fudgy Chocolate Happiness
If you have ever hovered over a pan of brownies trying to decide how big a piece is socially acceptable, these homemade brownie bites solve that problem for good. They are rich, chewy, and perfectly portioned so you never have to feel guilty about going back for seconds, or thirds. This is one of those recipes that looks like it came from a bakery case but actually comes together in one bowl with ingredients you probably already have in your pantry.
What makes these two bite brownies so addictive is the contrast between the slightly crisp, crackly top and the dense, fudgy center. Baking the batter in a mini muffin tin gives every single bite that perfect balance of edge and middle, which is honestly the best part of any brownie pan anyway.
Before we get cooking, the right tools and ingredients make a real difference here. A good quality mini muffin tin with a nonstick coating is what gives these little bites their smooth release and glossy tops, and using real butter and good cocoa powder instead of substitutes makes the chocolate flavor so much deeper.
Why You Will Love This Recipe
These bite size brownies check every box for an easy dessert or snack.
- Perfectly portioned. No more guessing how big to cut a brownie square.
- Ready in under 30 minutes, start to finish.
- One bowl, no mixer required. Just a whisk and a spatula.
- Freezer friendly, so you can stash a batch for whenever a craving hits.
Chef's Tip: Resist overmixing once the flour goes in. Stirring just until the streaks disappear keeps the brownies tender instead of tough or cakey.
How To Make Brownie Bites
The method for how to make two bite brownies is refreshingly simple. You whisk melted butter with sugar until it turns glossy, which is actually the secret to that classic shiny brownie top. From there, eggs and vanilla get whisked in, followed by the dry ingredients folded in gently by hand.
A cookie scoop makes portioning the batter into the mini muffin cups fast and mess free, and it keeps every brownie bite the same size so they all finish baking at the same time. If you like a little extra chocolate, press a few mini chocolate chips onto the top of each one right before it goes into the oven.
Ready to make it? Here is the full step-by-step recipe:
Homemade Brownie Bites (Chewy Two-Bite Brownies)
These homemade brownie bites are fudgy, chewy, and perfectly portioned for snacking. Learn how to make two-bite brownies with a shiny crackly top in under 30 minutes.
Ingredients
- 1/2 cup unsalted butter, melted
- 1 cup granulated sugar
- 2 large eggs, room temperature
- 1 tsp vanilla extract, pure
- 5/8 cup all-purpose flour, spooned and leveled
- 1/2 cup unsweetened cocoa powder, sifted
- 1/4 tsp salt
- 1/4 tsp baking powder
- 3/8 cup mini chocolate chips, optional, plus more for topping
Instruction
Preheat the oven to 350 degrees F (175 degrees C) and generously spray a mini muffin tin with nonstick cooking spray.
In a large mixing bowl, whisk together the melted butter and granulated sugar until smooth and glossy.
Whisk in the eggs one at a time, then stir in the vanilla extract until fully combined.
Sift the flour, cocoa powder, salt, and baking powder over the wet ingredients. Fold gently with a spatula just until no streaks of flour remain, being careful not to overmix.
Fold in the mini chocolate chips, if using.
Spoon about 1 tablespoon of batter into each mini muffin cup, filling them roughly two-thirds full.
Bake for 12 to 15 minutes, until the tops look set and a toothpick inserted in the center comes out with a few moist crumbs.
Let the brownie bites cool in the pan for 10 minutes, then run a thin knife around the edges and gently lift them out onto a wire rack to cool completely.
Equipment
- Mini muffin tin
- Mixing bowls
- Whisk
- Rubber spatula
- Cookie scoop or tablespoon
- Wire cooling rack
Notes
Tips For Chewy Two Bite Brownies
A few small details make a big difference here.
- Do not overbake. These little brownies go from fudgy to dry fast, so start checking at the 12 minute mark.
- Let them cool in the pan. They continue to set as they cool, and pulling them out too early can cause them to break apart.
- Grease generously. Even nonstick pans benefit from a proper coat of spray to release these delicate little bites cleanly.
Chef's Tip: For bakery style shiny tops, make sure you whisk the butter and sugar together really well before adding the eggs. This step dissolves the sugar slightly and is what creates that signature crackly crust.
Easy Variations
This recipe is a fantastic base for experimenting. Swap in white chocolate chips instead of mini chocolate chips, add a pinch of espresso powder to intensify the chocolate flavor, or press a single mini marshmallow into the center of each one after baking for a s'mores twist. You can also drizzle the cooled brownie bites with melted chocolate or a dusting of powdered sugar for a prettier presentation if you are serving them at a party.
Serving and Storing
These brownie bites are perfect for lunchboxes, bake sales, or a quick after dinner treat with a scoop of vanilla ice cream on the side. Store any leftovers in an airtight container at room temperature for up to 4 days. For longer storage, freeze them in a single layer, then transfer to a freezer bag once solid, and they will keep beautifully for up to 3 months. A few seconds in the microwave brings back that fresh from the oven warmth whenever a craving strikes.