English Muffin Bread (Easy Homemade Recipe)
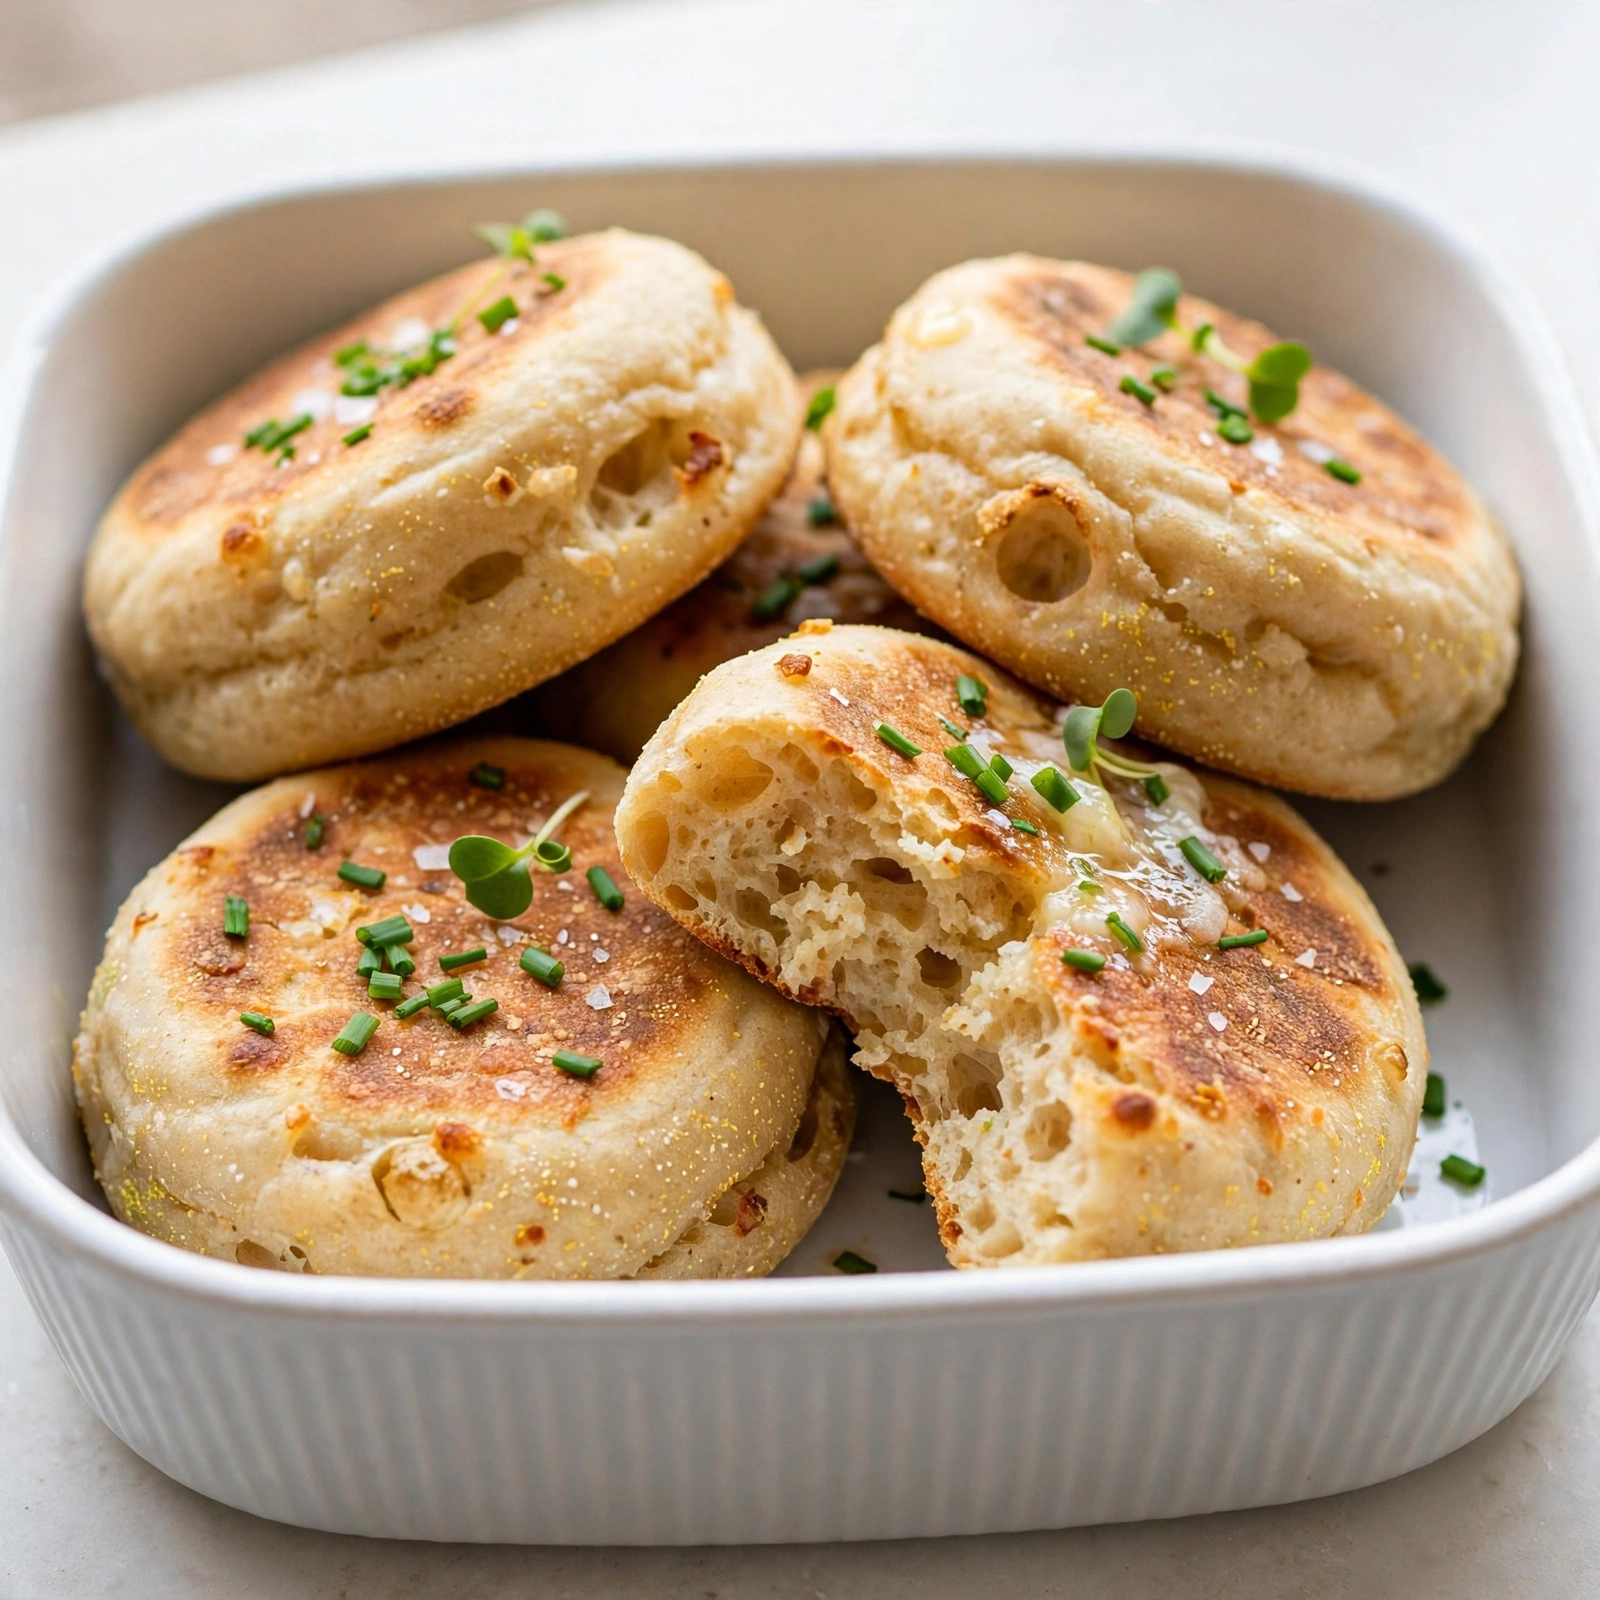
This homemade English muffin bread has all those craggy, nook and cranny holes you love, toasted up golden with melting butter, and it comes together with no kneading required.
Why You Need This English Muffin Bread Recipe In Your Life
If you have ever wondered how to make sourdough English muffin bread, or just wanted an easier way to get that classic craggy, holey texture without splitting and forking individual muffins, this homemade English muffin bread recipe is about to become your new obsession. It has all the tangy, chewy charm of a toasted English muffin, but in loaf form, which means no shaping, no muffin rings, and definitely no standing over a griddle flipping rounds one at a time.
This is genuinely one of the easiest yeast breads you will ever bake. There is no kneading, no fancy technique, and no special equipment beyond two loaf pans. The batter is thick and a little sticky, almost like a very stiff pancake batter, and that is exactly what gives you those famous nooks and crannies once it is toasted.
Before we get cooking, the right tools and ingredients make a real difference here. A good instant read thermometer takes the guesswork out of warming your milk to the perfect yeast-activating temperature, and sturdy metal loaf pans (not glass) help the crust brown properly instead of steaming. A stand mixer with a paddle attachment also makes quick work of this thick batter if your arm gets tired of stirring.
The Secret To That Classic Nooks and Crannies Texture
The magic of the best English muffin bread recipe lies entirely in the batter's consistency. Unlike traditional sandwich bread dough, which you knead until smooth and elastic, this dough is deliberately left wet and shaggy. It gets beaten rather than kneaded, which develops just enough gluten to trap air bubbles without creating a tight, uniform crumb.
As the loaf bakes, those air pockets set in place, creating the same irregular, hole-riddled texture you would expect from a store-bought English muffin. When you toast a slice, the holes catch butter and jam in every bite, which is really the whole point of this bread.
Chef's Tip: Resist the urge to add extra flour to make the batter easier to handle. A wetter batter means a more open, muffin-like crumb. Trust the process, even when it looks more like thick cake batter than bread dough.
Tips For Bread Machine and Stand Mixer Methods
If you are searching for a bread maker English muffin bread recipe or an English muffin bread maker recipe, you are in luck, because this dough adapts beautifully to a bread machine's dough cycle. Just add your ingredients in the order your manufacturer recommends, run the dough cycle, then transfer the risen dough to your prepared loaf pans for a second rise and a traditional oven bake. This gives you all the ease of a machine with the classic crackly, golden crust you only get from real oven heat.
No bread machine? No problem at all. A stand mixer fitted with the paddle attachment (not the dough hook) handles this batter perfectly, or you can simply use a sturdy wooden spoon and a bit of elbow grease.
Getting The Rise Right
Because this dough is unkneaded and quite loose, it rises a little differently than a traditional loaf. Watch the pan, not the clock. Once the batter has puffed up to the rim of the loaf pans, it is ready for the oven, usually somewhere between 30 and 45 minutes depending on how warm your kitchen is.
Ready to make it? Here is the full step by step recipe:
English Muffin Bread (Easy Homemade Recipe)
This homemade English muffin bread has all those craggy, nook and cranny holes you love, toasted up golden with melting butter, and it comes together with no kneading required.
Ingredients
- 6 cups all-purpose flour, divided, plus more for dusting
- 1 tbsp granulated sugar
- 2 tsp salt
- 1/4 tsp baking soda
- 2 tbsp active dry yeast, two 1/4-oz packets
- 2 cups whole milk
- 1/2 cup water
- 3 tbsp cornmeal, for dusting the pans, plus extra
- 1 tbsp unsalted butter, melted, for brushing the tops, optional
Instruction
Grease two 8.5x4.5-inch loaf pans well, then dust the inside of each pan generously with cornmeal, tapping out the excess.
In a large mixing bowl, whisk together 3 cups of the flour, sugar, salt, baking soda, and yeast until well combined.
In a saucepan or microwave-safe measuring cup, heat the milk and water together until very warm to the touch, about 120 to 130 degrees F (49 to 54 degrees C), but not boiling.
Pour the warm milk mixture into the dry ingredients and beat with a wooden spoon or hand mixer on low speed for about 1 minute, until smooth and well blended.
Gradually add the remaining 3 cups of flour, about a cup at a time, stirring well after each addition. The dough will be very thick, sticky, and batter-like rather than a traditional kneadable dough.
Divide the batter evenly between the two prepared pans, smoothing the tops with a wet spatula. Sprinkle a little extra cornmeal over the tops if desired.
Cover the pans loosely with a clean kitchen towel or plastic wrap and let rise in a warm spot for 30 to 45 minutes, or until the batter reaches the top edge of the pans.
While the dough rises, preheat your oven to 400 degrees F (200 degrees C).
Bake for 20 to 25 minutes, until the tops are deeply golden brown and the loaves sound hollow when tapped on the bottom.
Remove the loaves from the pans immediately and let cool on a wire rack for at least 30 minutes before slicing. Brush the tops with melted butter if you'd like a softer crust.
Slice thick, toast well, and serve slathered with butter and jam.
Equipment
- Two 8.5x4.5-inch loaf pans
- Large mixing bowl
- Wooden spoon or hand mixer
- Wire cooling rack
- Kitchen towel or plastic wrap
Notes
Serving, Storing, and Freezing Your Loaves
This bread is built for toasting, not for eating straight from the bag like a sandwich loaf. The crumb is fairly dense and slightly gummy when fresh, but a few minutes under the broiler or in the toaster transforms it into golden, crispy edged perfection with a chewy, open interior.
A few ways to enjoy your homemade English muffin bread:
- Toasted thick with salted butter and a drizzle of honey
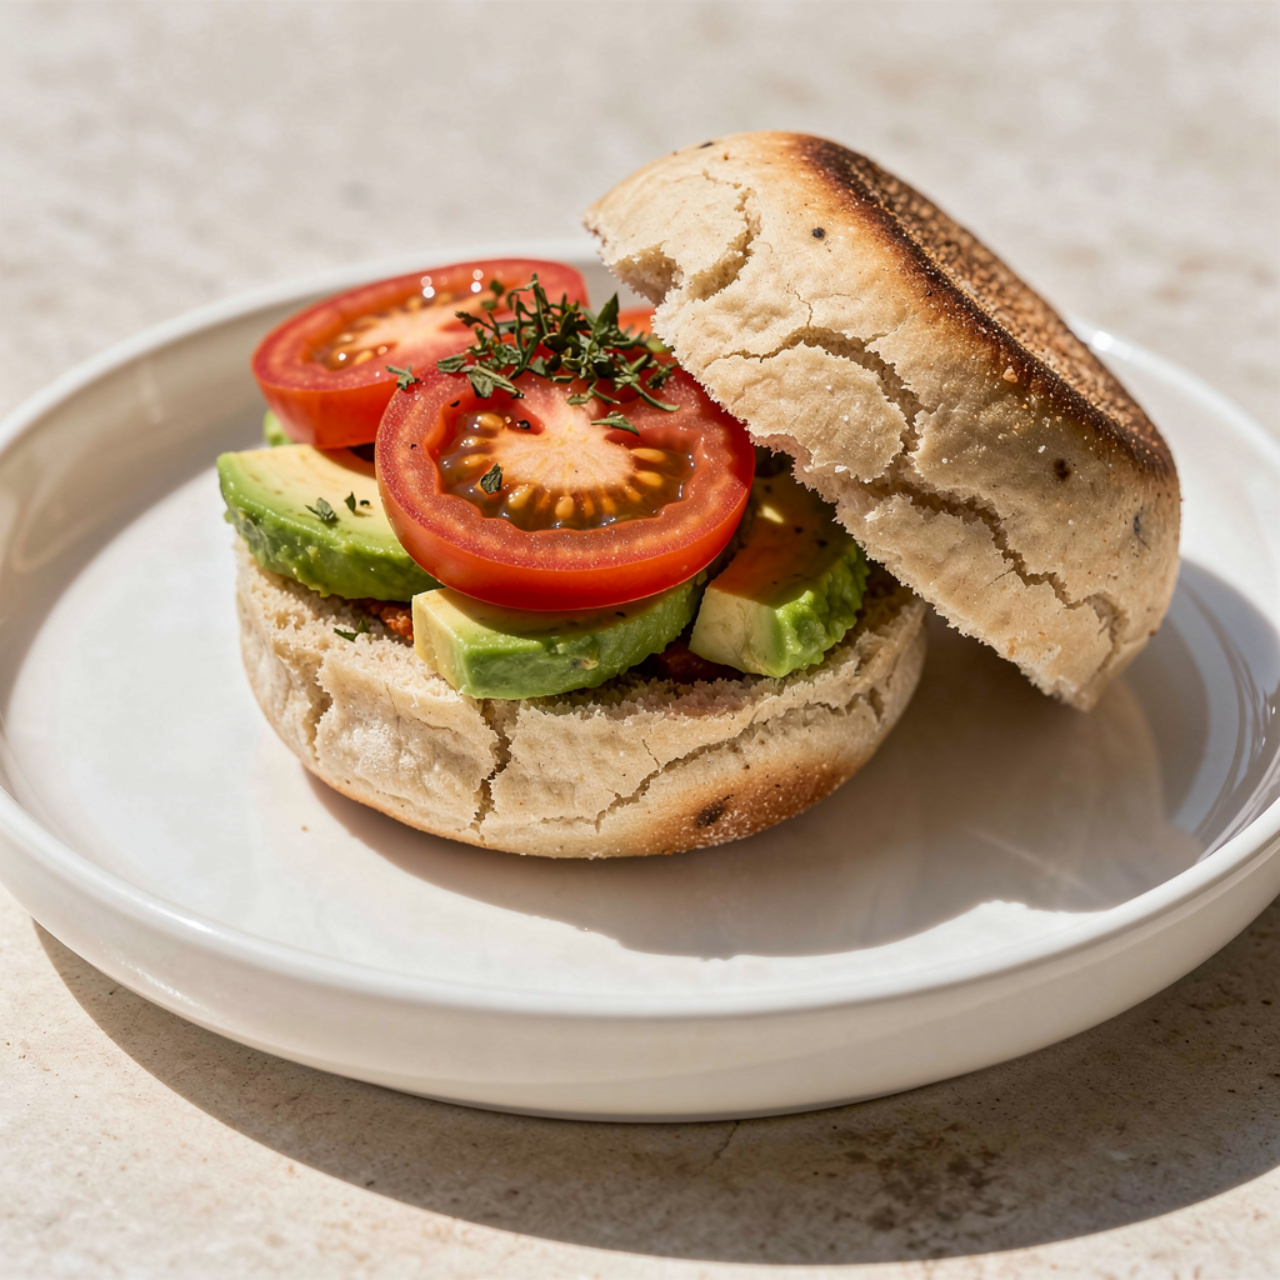
- As the base for the ultimate breakfast sandwich, with egg, cheese, and crispy bacon
- Topped with ricotta, sliced strawberries, and a dusting of powdered sugar
- Split and toasted for eggs Benedict in place of traditional muffins
Once fully cooled, store the loaves in airtight bags at room temperature for up to 5 days, or slice and freeze for up to 3 months so you always have a stash ready for the toaster. However you slice it (pun very much intended), this easy homemade English muffin bread is about to become a permanent fixture in your baking rotation.